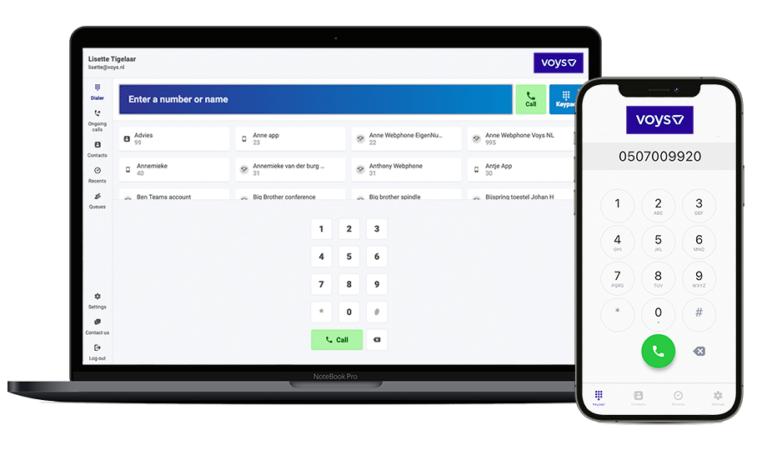
Snom

Written by . Last updated: May 15, 2020

Setting up a Snom

These settings work for the Snom 300, 320, 360, 370, and the 700 series. It could be that these settings also work for other types. Give it a try and let us know.

Discovering the device’s IP-address

  • Press the help button on the device.
  • Enter the IP-address from the device in a web browser (on a computer that is connected to the same network).

You can setup a password if you want to. Click in the menu on Identity 1.

Entering account information

Click on the Login tab, fill in the following information.

  • By Display name fill in the Account ID from your VoIP-account. You can find this by going to Freedom. Click on Admin and then on VoIP-account. After VoIP-account you will see your account ID.
  • In the Password field, enter the password from your VoIP account. In Freedom, click on admin and then on VoIP account. On the right side under filters, change Show passwords to Yes and then click Apply. An extra column containing the password will be displayed.
  • By Registrar fill in ha.voys.de.
  • Click on Apply.

SIP settings

  • Go to the tab SIP.
  • Change DTMF via SIP INFO to on.
  • Change Subscribtion Expiry (s) to 1800.
  • Click on Apply.

NAT settings

  • Go to the tab NAT.
  • At Keepalive interval (seconds) fill in 15.
  • Click on Apply.

RTP settings

  • Go to the tab RTP.
  • At Codec fill in g722, pcma and g729.
  • Click on Apply.

Testing the VoIP account

  • Click in the menu on System Information.
  • If the account is registered at the server you will see at Identity 1 Status: Account@Server: OK. The account is now registered correctly.
Can’t find it?

Prefer to speak to a colleague?

Just drop our customer happiness team a line at  support@voys.co. They always respond within a business day.